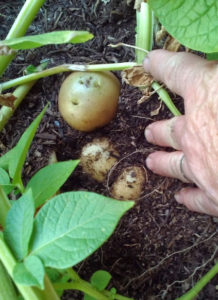
Did you know that home grown potatoes taste different than store bought? They have amazing flavor and are so easy to grow! Potatoes grow under ground – it is fun to dig for buried treasure. The whole family will enjoy growing and eating home grown potatoes.
Normally arriving in January. Our first potatoes have arrived very early!
Potatoes are planted mid-February in a sunny location. Follow these simple instructions for success with this culinary favorite.
- Alegria are a good yielding variety known for its yellow flesh with a rich, buttery flavor. They keep their shape well making them an excellent choice for many cooking applications.
- Cecile are a red-skinned potato with a creamy white interior. They have a nutty flavor and are another firm option for many dishes.
- Red La Soda Potato has a rosy skin and waxy white flesh which is tasty baked, boiled or fried. Red La Soda keeps well and withstands our heat and drought.
- Russian Blue Potato is purple-blue inside and out with a delicious mild flavor. The color remains – imagine purple potato salad.
Planting Tips
Storing Before Planting
Potatoes can be stored for months before eating or planting. If you are purchasing potatoes before planting time, store them in a cool, dry place. Keep the potatoes in a cardboard box or brown paper bag during their hibernation period. Keep in mind that they require ventilation, so do not stack or pile the potatoes too high.
Preparing the Soil
Potatoes prefer a loose, well-drained soil. Our native soil is not ideal and must be amended. We recommend mixing at least 3″ of MASTER NURSERY BUMPER CROP into the top 6″-12″ of soil; you’ll need 3 bags for each 50 square feet of planting area. In addition, incorporate two pounds of MASTER NURSERY 0-10-10 to encourage root and stem growth and 2 pounds Iron Sulfate to neutralize the soil pH. Or plant your potatoes in fabric “potato bags”. Talk about an easy harvest – just dump them out. No digging required.
Choose “Certified Potatoes”
Our potatoes have been inspected to assure they are disease-free and are ready to be planted in your garden. Potatoes purchased from the supermarket have been treated with a sprouting retardant making them marginal for use in the garden. Choose from our improved selection which includes many of the popular new colored varieties.
Cut and Dry the Potatoes
Cut the potatoes into chunks 1 ½” square with at least two eyes. Spread them in a single layer (cut side up) and allow to air dry at least overnight. Cut surfaces should be dry to the touch. The air-dried cut pieces are less likely to rot in the cool, wet soil. Dusting with sulfur before planting will further decrease the chance of disease infection. If potatoes are small, simply plant the whole thing.
Plant
Form rows that are 4″ deep and 2′ apart. Set the seed potato pieces in rows, cut side down, 12″ – 18″ apart. Do not plant if the soil is very wet, but be sure to water thoroughly after planting. Or plant in our fabric bags with professional MASTER NURSERY POTTING SOIL and some EB STONE TOMATO AND VEGETABLE FOOD. Fabric bags are great to grow in, and harvesting is easy. In a bag pieces can be set about 4″ apart.
Hilling Up
The potatoes will form above, not below, the planted pieces. When the plants reach 5″ – 6″ tall, draw up loose soil (or a soil/straw mix) around the plants so that only 2″ of the stem is exposed. Hill soil up again in 2-3 weeks. Hilling up gives the potatoes a light soil to expand into as they grow.
Water & Feed
After growth begins, give the plants regular deep watering (once per week). Feed potatoes monthly with EB STONE TOMATO AND VEGETABLE FOOD, a balanced fertilizer. This along with the MASTER NURSERY 0-10-10 and Iron Sulfate incorporated at planting completes the nutritional requirements.
Harvest
Dig early or “new” potatoes when plant tops begin to flower (around June), dig mature potatoes when tops die down (late summer). Dig carefully to avoid bruising or cutting them. Store in a dark place at approximately 40 degrees.
What you will need:
- Master Nursery Bumper Crop
- EB Stone Tomato & Vegetable Food
- Iron Sulfate

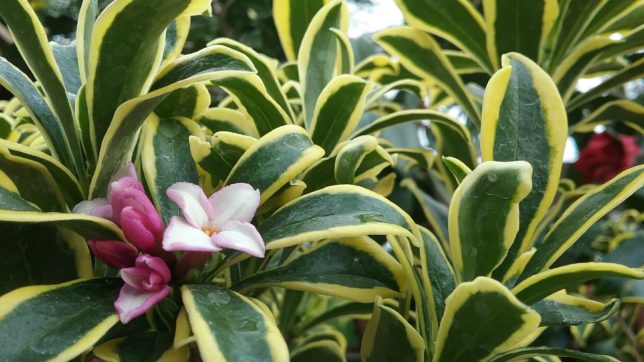
 The various deciduous magnolia hybrids are commonly referred to as tulip trees. They display an abundance of large, tulip-shaped flowers in early spring. The flowers can be up to 12 inches in diameter, depending on the variety.
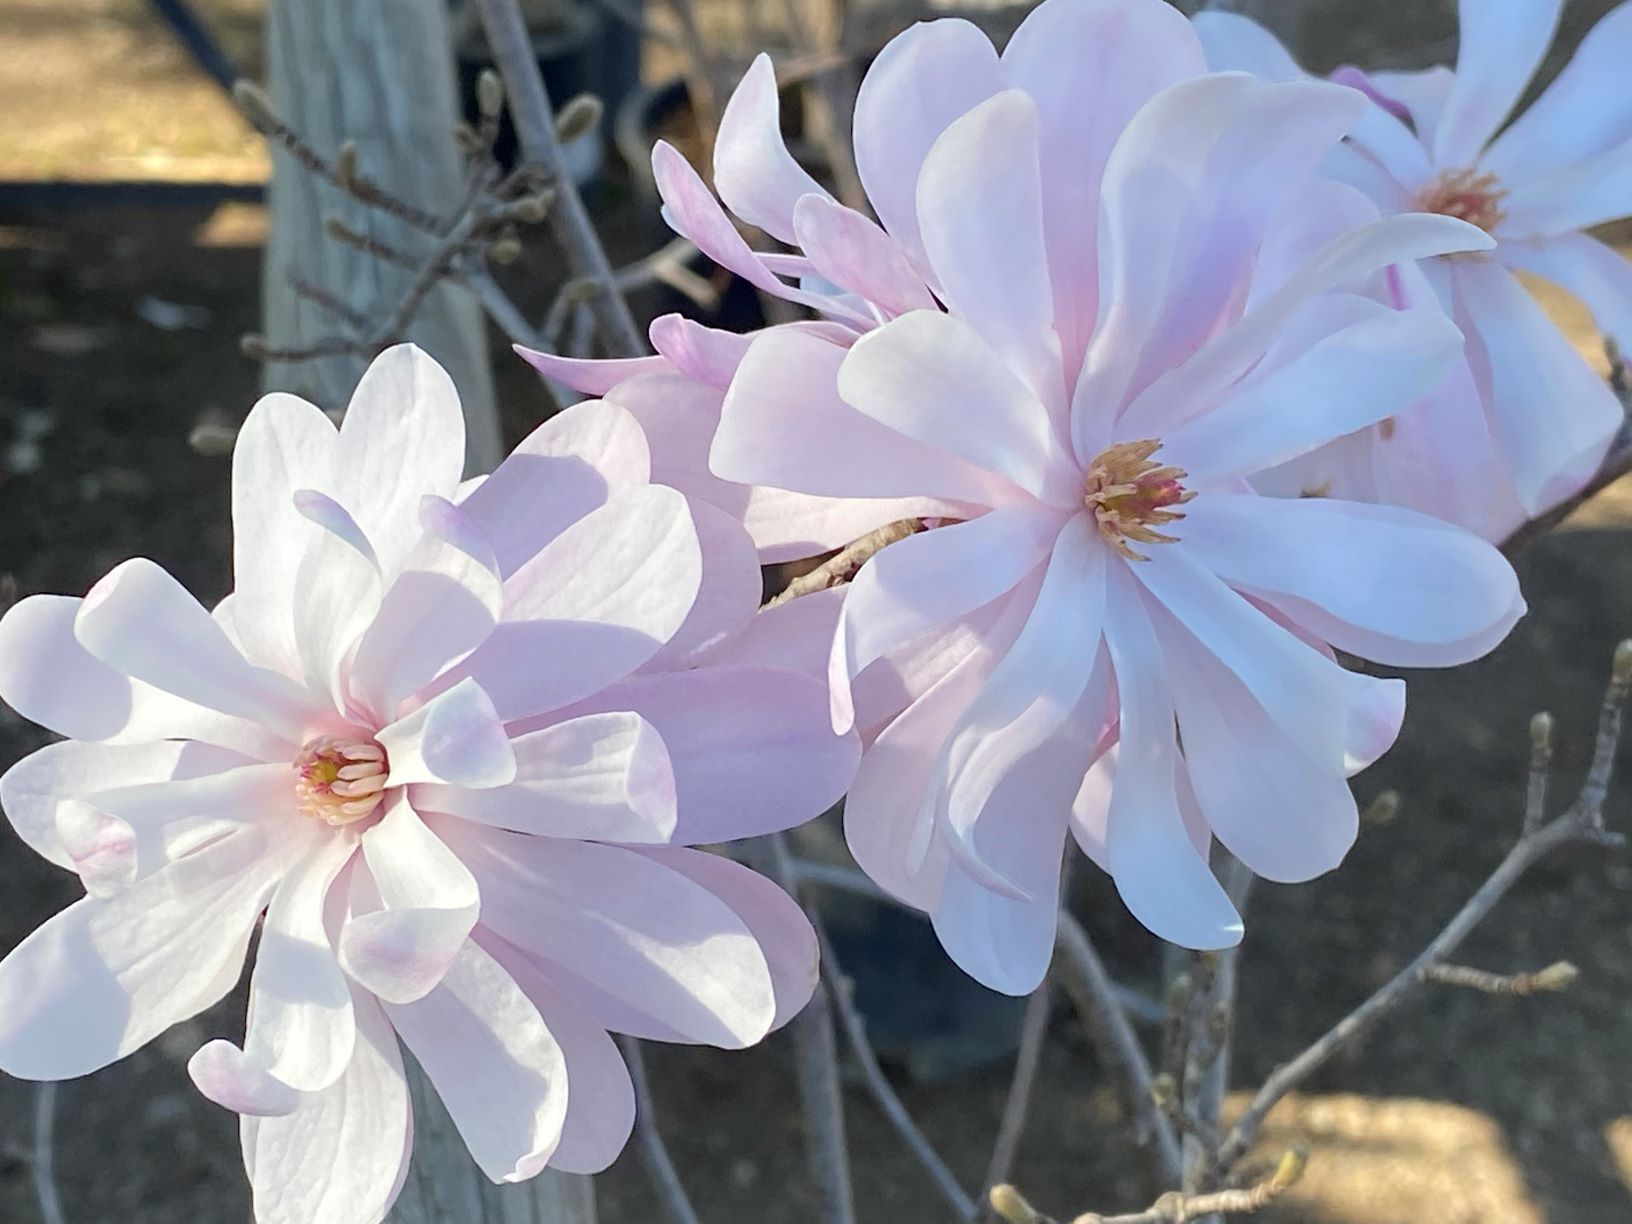

![coppersoapsm[1]](https://www.aldenlane.com/m/wp-content/uploads/2015/11/coppersoapsm1.gif)
![pruning[1]](https://www.aldenlane.com/m/wp-content/uploads/2015/12/pruning1.gif)
 Brighten the garden with colorful bedding plants. Refresh your garden beds and containers with primroses, pansies, Iceland poppies and more. Check with the staff for helpful advice and ideas.

![vertcitrus[1]](https://www.aldenlane.com/m/wp-content/uploads/2015/11/vertcitrus1.jpg)
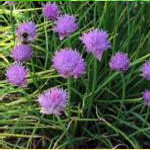
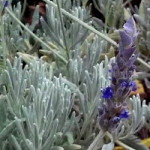
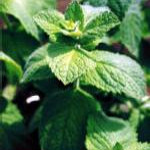
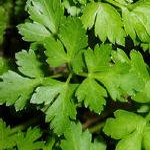
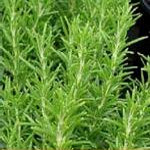
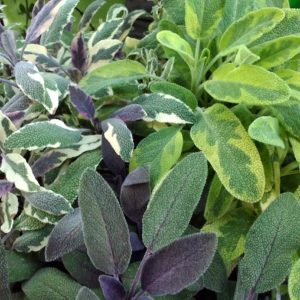 As the temperatures drop and the desire to garden remains high, cold hardy herbs can fill a need to grow something edible. Herb gardening can be enjoyed in a kitchen window, a container on the deck or out in the garden bed, and they are perfect for Thanksgiving Stuffing, winter stews, salads and more.