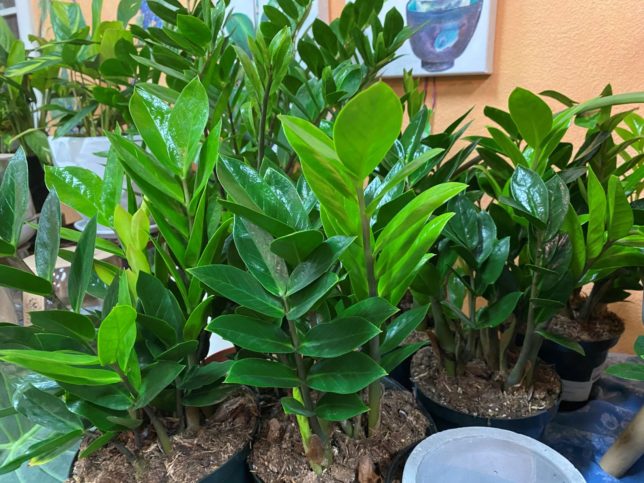
We have talked a lot over the last few months about the many great benefits of houseplants – they remove pollutants from the air, add oxygen, reduce stress, etc. If you are looking for an easy houseplant that offers these benefits, consider a ZZ plant.
The ZZ plant, which is short for Zamioculcas zamiifolia, thrives in a number of adverse indoor environments that might challenge another plant. Regarding light, the ZZ plant prefers to be in indirect light (meaning away from windows and direct sun). It even works in offices with fluorescent light or a room that doesn’t have windows!
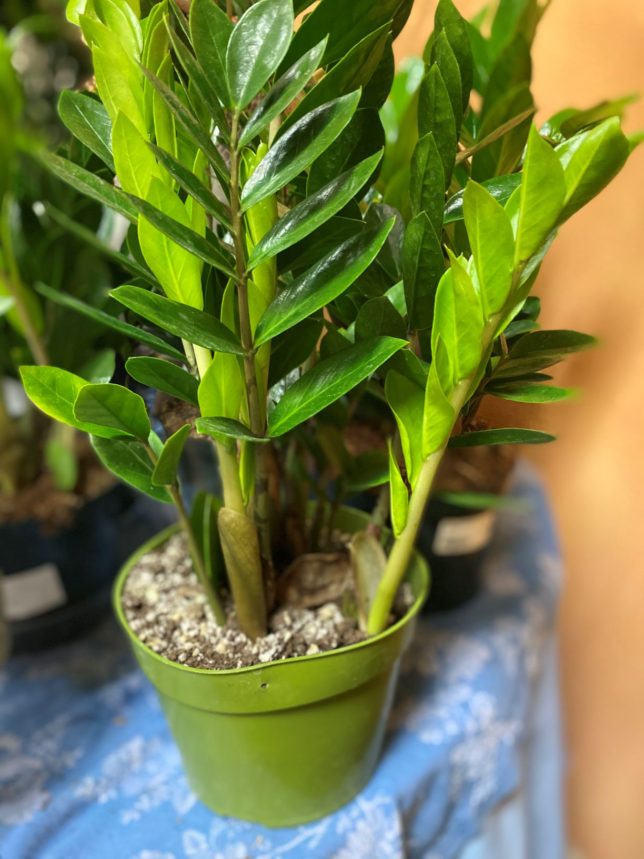
The deep green leaves look tropical, but it actually is a succulent. It has rhizomes (bulbs under the soil that store water) so it is naturally adapted to survive long periods without water. During the cooler months, the ZZ plant only needs to be watered about once a month or so – when the top inch or two of the soil gets completely dry. During the warmer months, you will need to offer your plant more water. Make sure you get to know your plant throughout the year as your indoor conditions vary and with it your plant’s water needs. A sure way to kill it is to overwater it!
Another great feature of the ZZ plant is that it has very few pest and disease problems. It also doesn’t need to be fertilized much – maybe a small application in spring and summer.
One word of caution, the ZZ plant’s leaves are considered poisonous – this plant is not recommended a home with a pet or child that might be tempted to put plants in their mouth. Some people have minor skin irritation when handling the leaves.
If you are looking for a great looking plant that is easy to care for, check out the ZZ plant!
Looking to purify the air in your home? Houseplants to the rescue. These air cleaning plants will help you remove toxins and improve air quality.
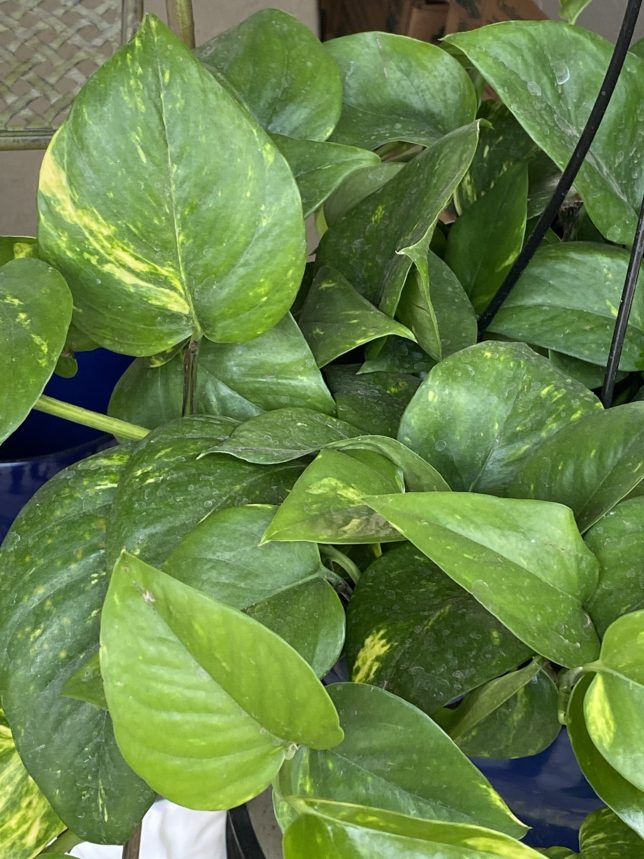
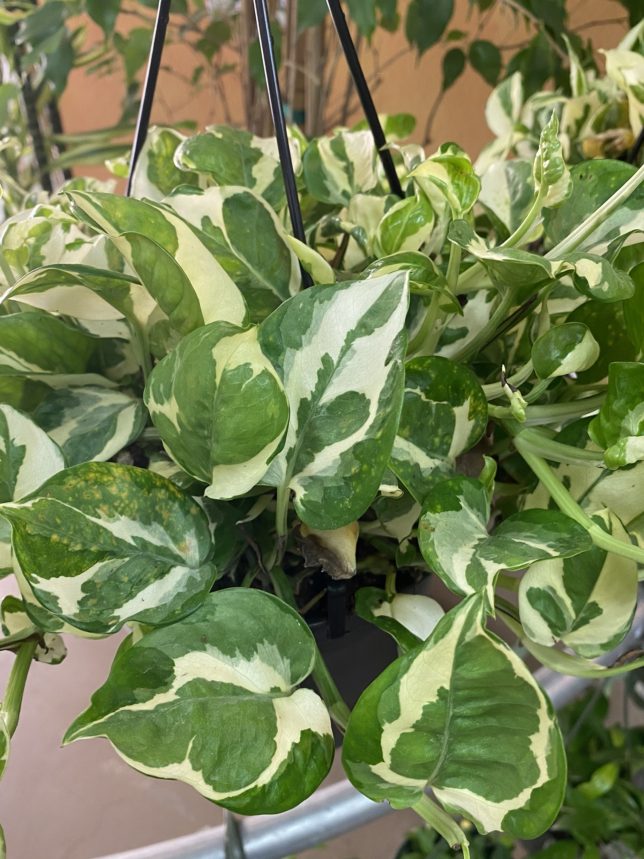
1. Pothos (Epipremnum aureum)
One of the easiest houseplants to care for. It likes light, but can live in lower light. They like to dry out between waterings. It’s trailing, heart shaped leaves come in different colors.
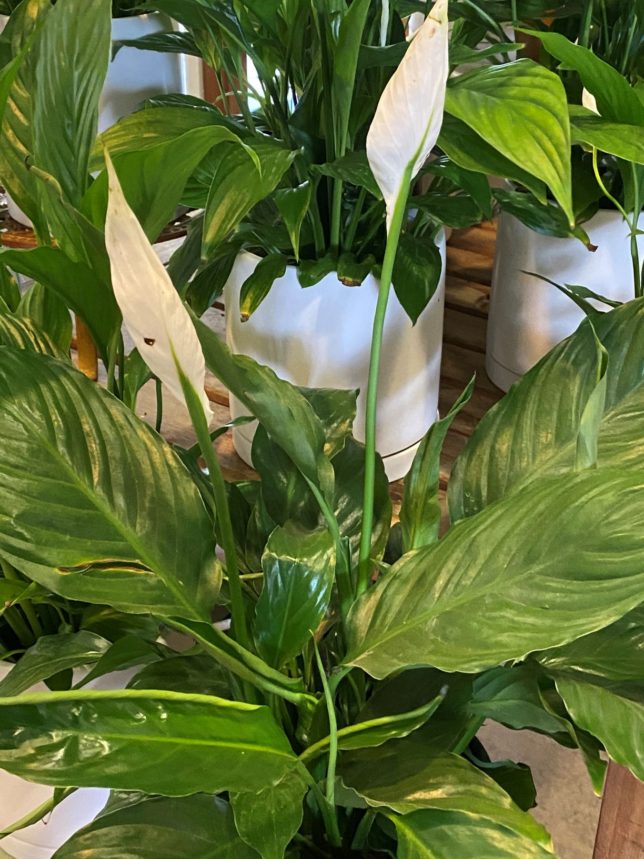
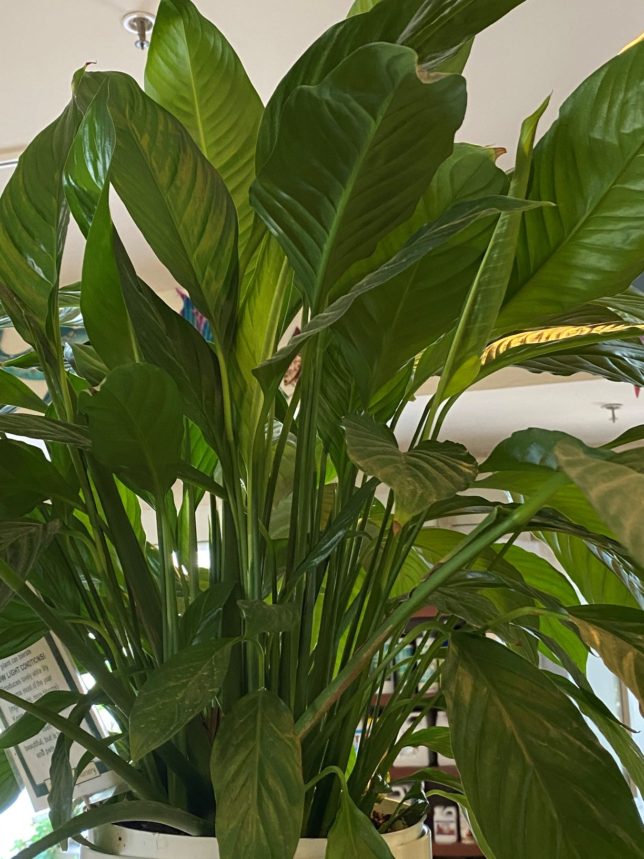
2. Peace Lily (Spathiphyllum)
Peace Lilies are another easy plant. Their glossy leaves & white flowers make them a great addition to any room. They can tolerate lower light, are very happy in bright indirect light and love water.
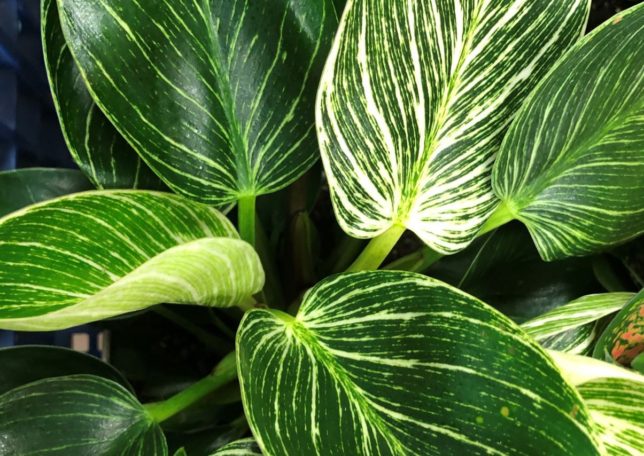
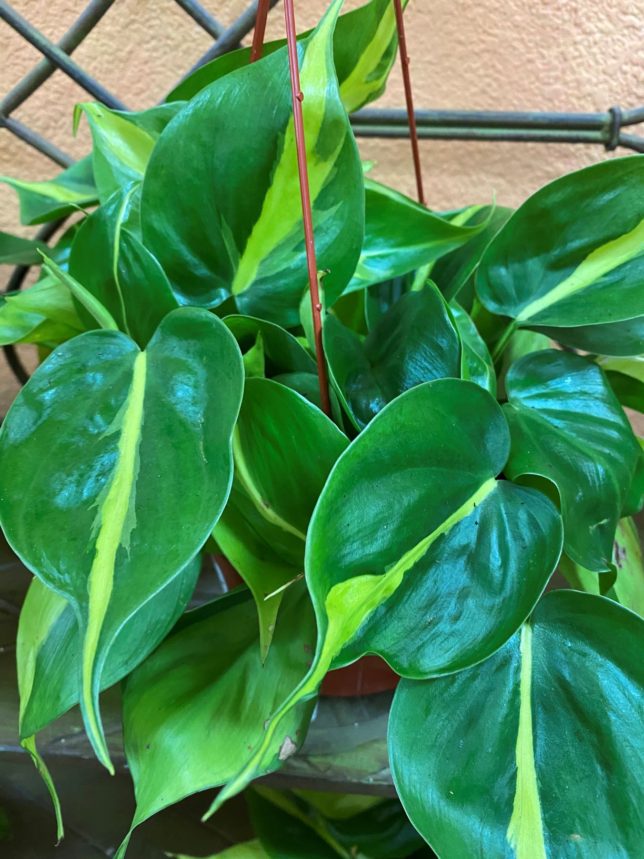
3. Philodendron
Another heart-shaped leaf, philodendron is a welcome addition to indoor spaces. They are relatively easy to care for. They just need moderate water and bright, indirect sunlight.
4. Spider Plant (Chlorophytum comosum)
Spider plants are a favorite of new plant parents or those with a bad track record. They thrive in bright, indirect sunlight and tolerate a wide temperature range.
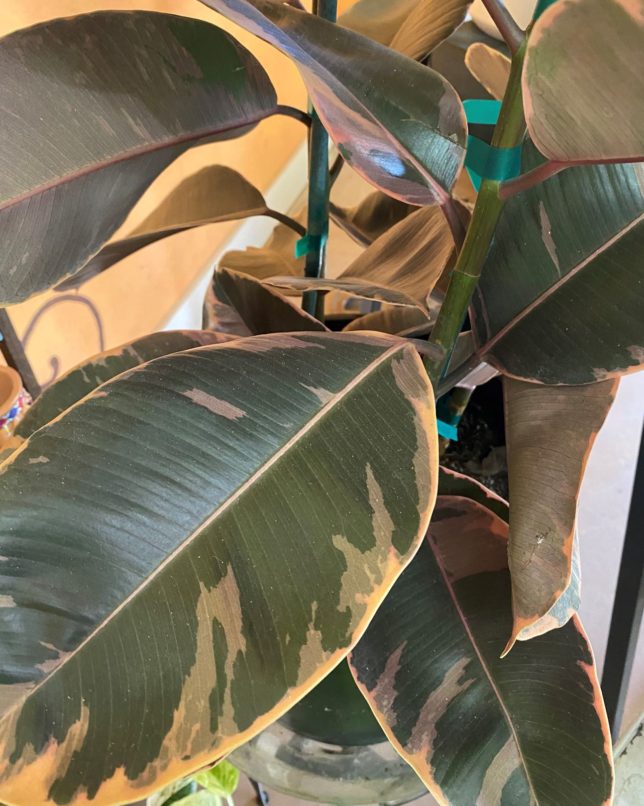
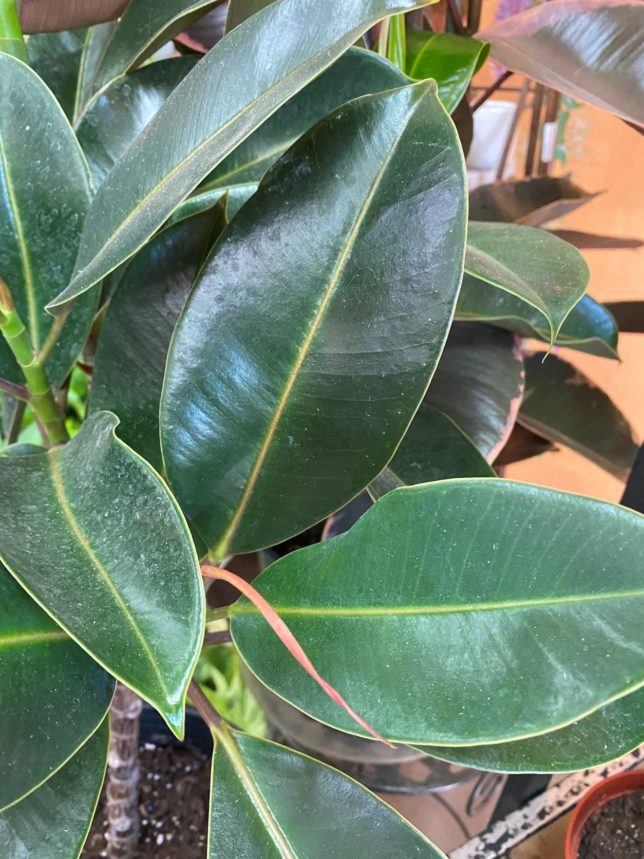
5. Rubber plants (Ficus elastica)
These popular ornamental plants are hardy indoor addition. They love bright, filtered light and weekly* watering in summer (you can go to twice a month in winter). Rubber plants can vary in size. They will grow in a small pot or can be encouraged into a larger indoor tree.
*watering frequency varies with pot size, light and room temperature.
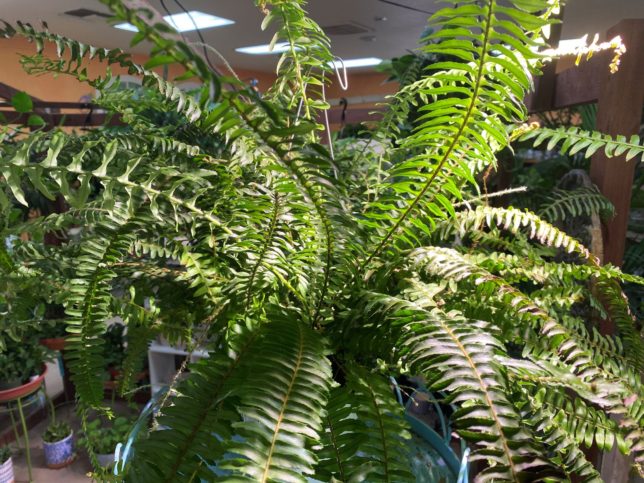
6. Boston Fern (Nephrolepis exaltata v. Bostoniensis)
This lovely fern with sword-shaped fronds makes it perfect for a hanging basket or plant stand. The Boston Fern likes a more humid environment and requires consistent moisture – think about your bathroom. They do like bright indirect sunlight near windows, balconies and patios.
7. ZZ Plant (Zamioculcas)
If you are looking for a unique, easy care plant, consider a ZZ Plant. They do well in low light to medium and like to dry out completely between watering.
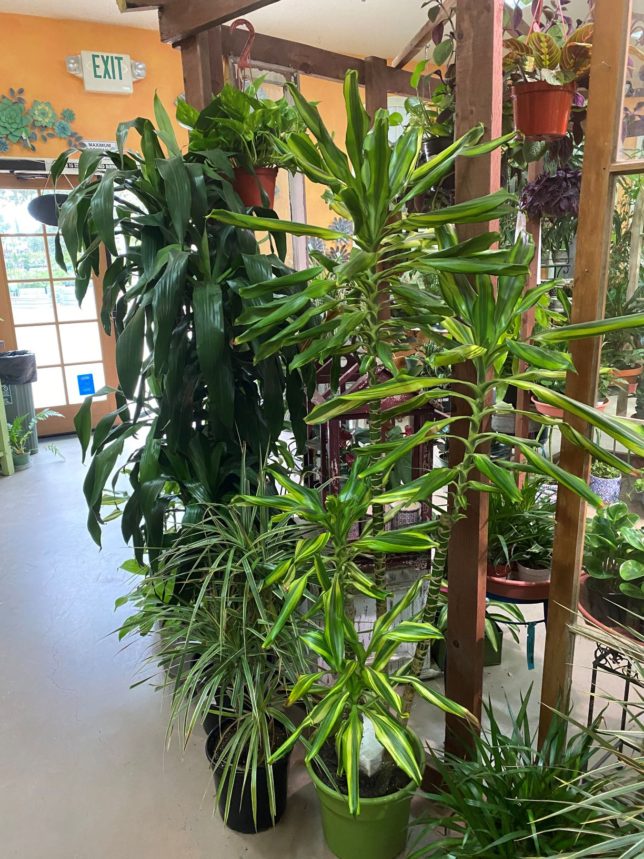
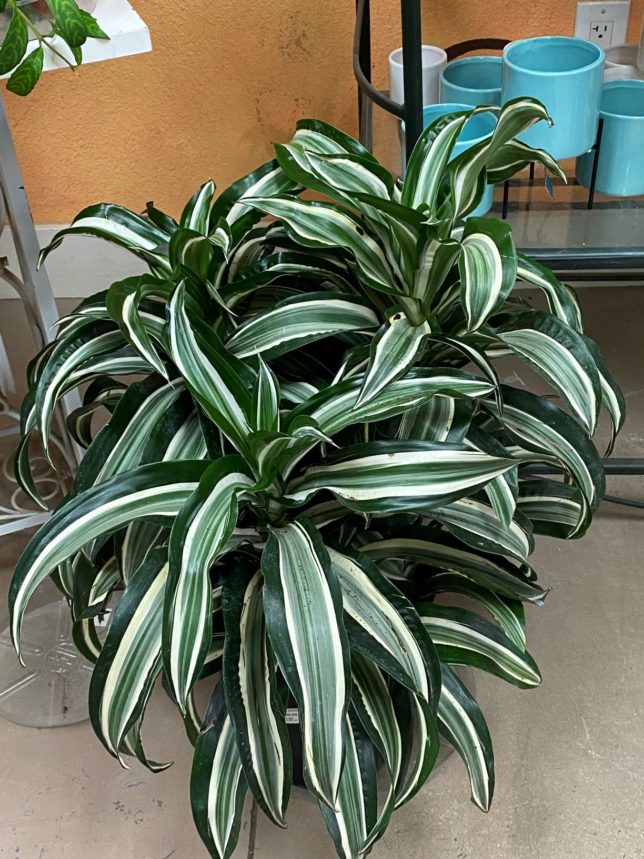
8. Dracaena
Dracaena are another statement plant as they can grow up to ceiling height. They have one of the widest range of “looks” – colors and width of leaves vary quite dramatically. These guys love indirect sunlight and can survive in lower light than many. They definitely won’t do direct sunlight.
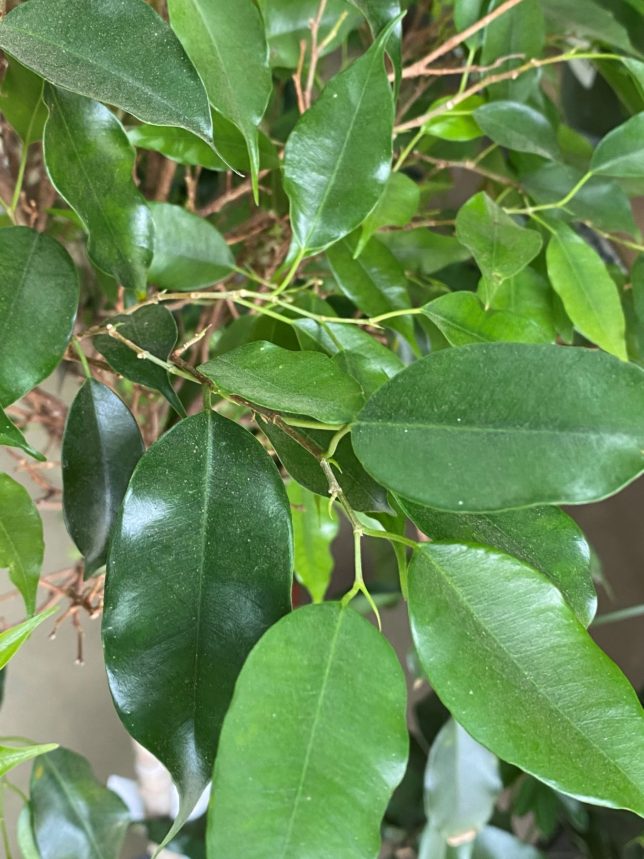
9. Ficus/Weeping Fig (Ficus benjamina)
Like many of it’s air purifying friends, the ficus prefers bright, indirect sunlight. They enjoy regular water and like to dry out between drinks.
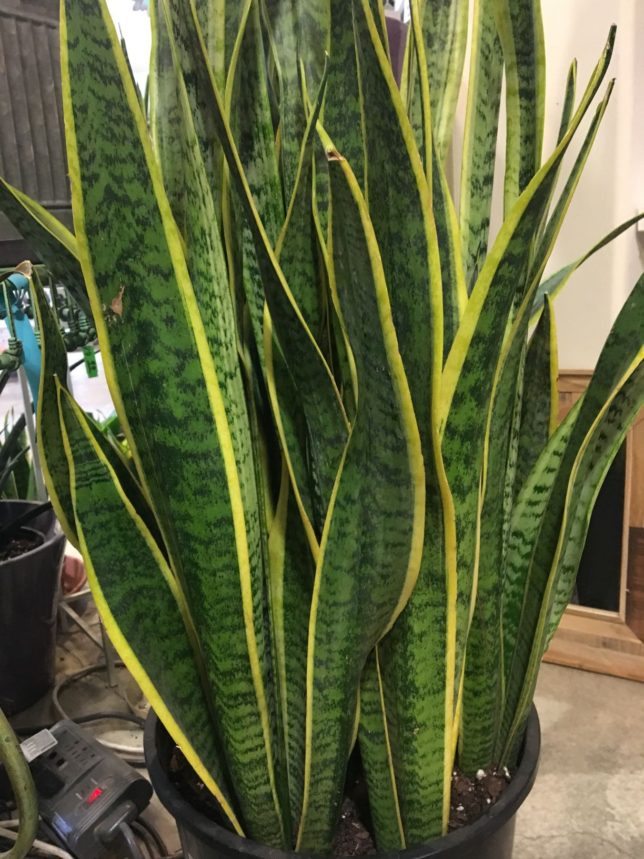
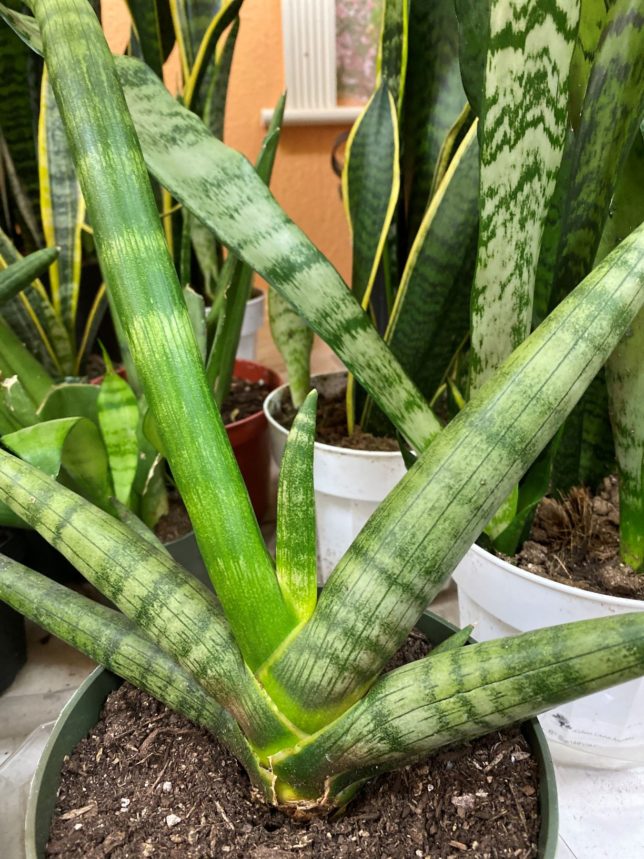
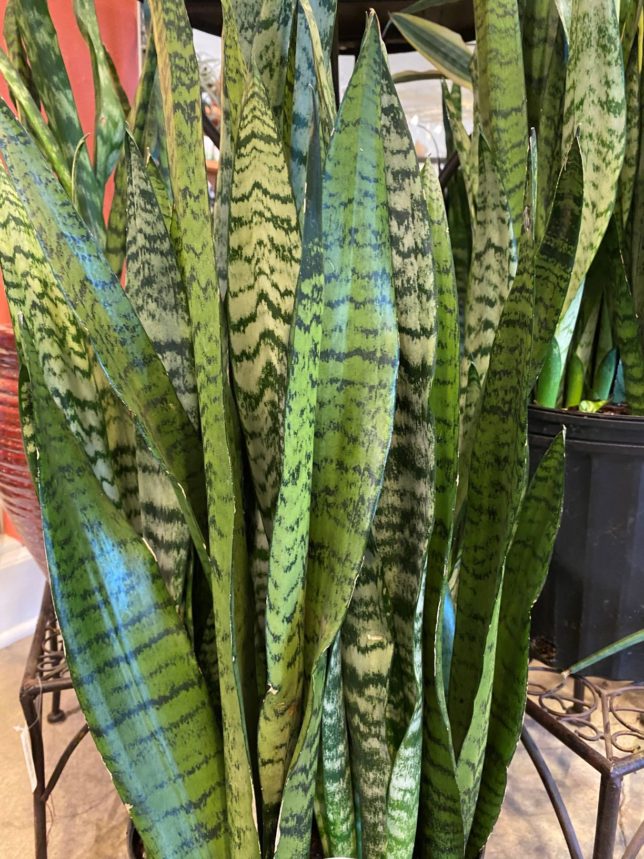
One of our customer favorites is the Sansevieria or Snake Plant. It is a succulent plant that grows fairly straight upright. Sansevieria is a low-maintenance plant that is hardy and thrives on neglect. It is one of the few houseplants that continues to produce oxygen round the clock. This plant needs to go dry between waterings!
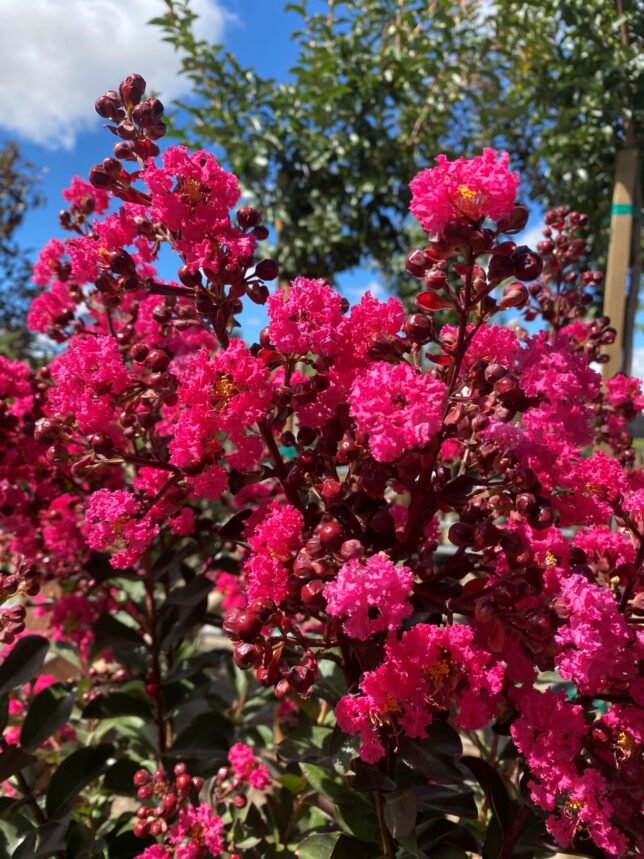
Crape myrtles are a favorite among local gardeners for their stunning blooms, water-wise habits and year-round interest. They can also host an unwanted aphid infestation.
Aphids are small, soft-bodied insects that feed on plant sap. Aphids are typically less than 1/8 inch long and are often green, yellow or brown. They have pear-shaped bodies with long antennae.
Aphids are usually found in clusters on the underside of new leaves or stems where they feed. Aphids are attracted to plants with new growth because they prefer to feed on young, tender plant tissue. Aphids feed by piercing plant tissues and sucking out the sap. This can cause leaves to curl, yellow, or drop prematurely.
You may also notice a sticky substance on the leaves or on the ground below the tree. This “honeydew” can attract ants which will then worsen the problem as they defend the aphids from predators.
Preventing aphids involves regular monitoring, promoting natural predators, and maintaining the overall health of your tree.
There are several approaches to fighting aphids on crape myrtle trees:
The first line of defense is to blast them off with a strong stream of water daily
Horticultural Oil or Neem Oil (only if less than 90 degrees)
Spray with all-natural Take Down Garden Spray = oil + pyrethrin (fast kill of insects) (only if less than 90 degrees)
Introduce natural enemies such as ladybugs
Control the ant population
Any of these approaches may need to be repeated as aphids quickly reproduce.
Humble shrubs can play a number of roles in the garden. Take time to walk our aisles to see our fantastic selection of these “garden workhorses” to meet any landscape situation.
Shrubs can be used to unify or fill in a space, bridging the gap between large elements like a house or tall tree and lower growing flowers and lawns. Plant shrubs along entryways, pathways and property lines to direct traffic through your garden for both people and pets.
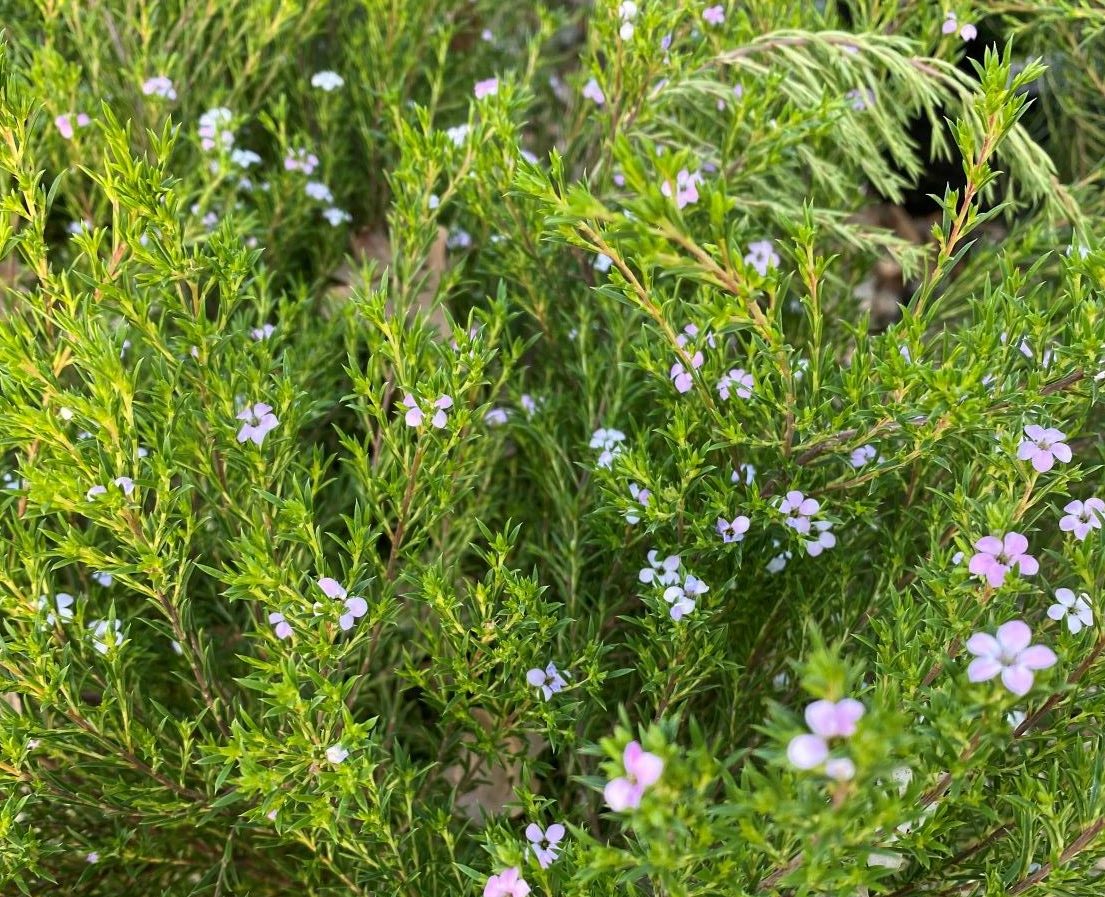
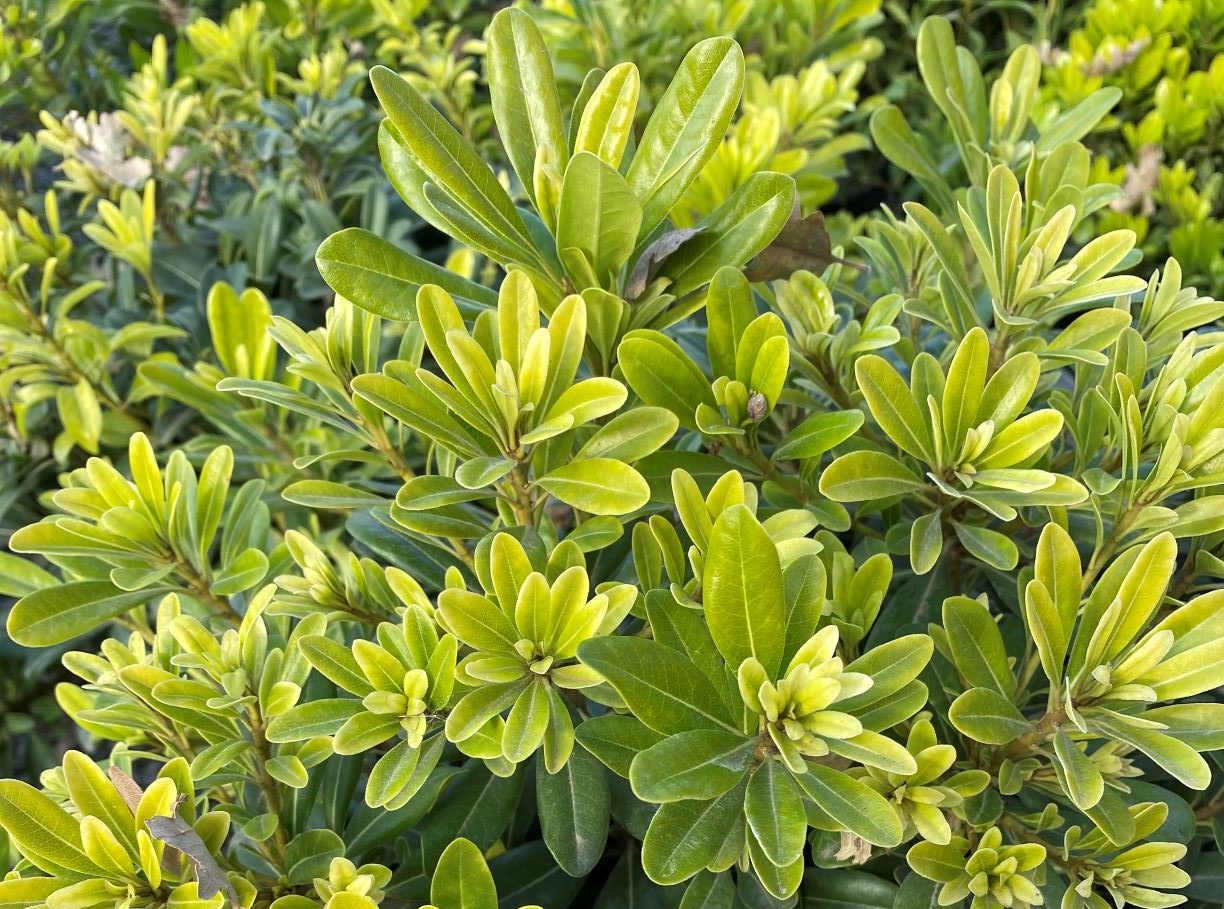
To screen out unwanted views, chose shrubs that maintain a dense foliage from top to bottom year round. Plant them close enough so that at maturity they provide the cover you are seeking. Select shrubs that are faster growers to get to your goal more quickly.
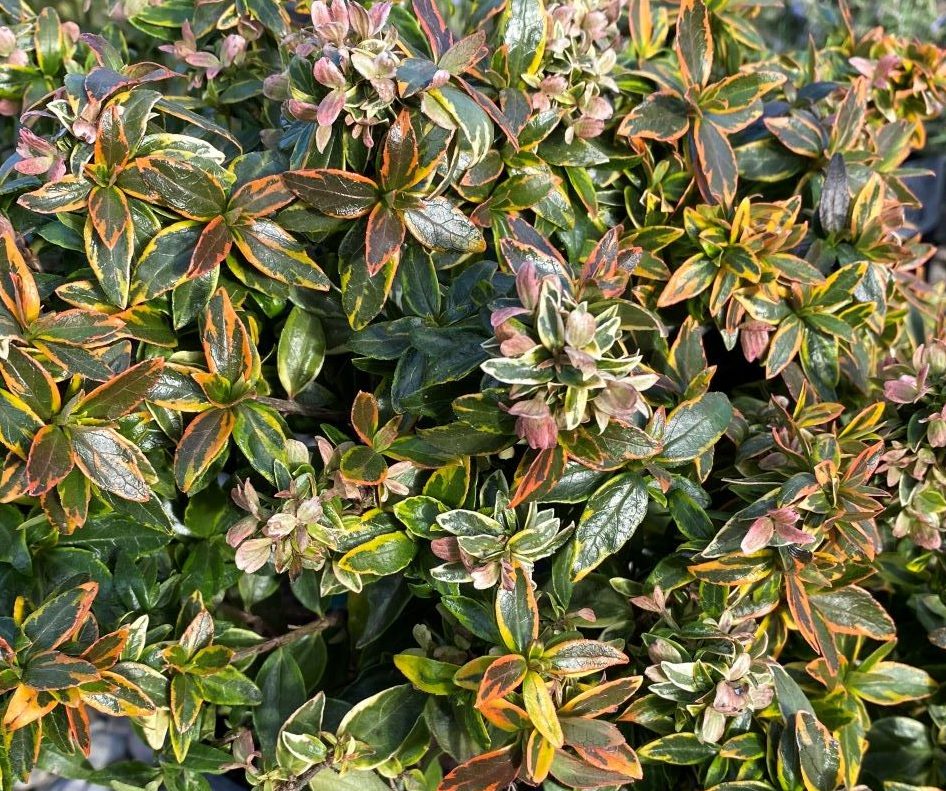
Many shrubs look attractive all year. Select an evergreen shrub and you will not have the slumbering dormant look that some plants furnish. While shrubs that provide eye-catching spring and summer flowers are always favorites, consider a shrub whose foliage can delight without the seasonality of floral blooms. The wide variety of options in shrubs is even more attractive when you vary the texture (size & shape of leaves) of the plants you select.
If you can’t manage an escape to an exotic island for the weekend then perhaps a garden filled with tropical plants with sizzling colors will be a great place for a retreat. There are two kinds of tropical climates, gardens, one is a dry tropical and the other is a wet, humid tropical. Our water situation means plants with an arid background are best for creating a tropical look in our locale. With a little creativity, you can relax in the tropics in your own backyard.
Palms What tropical retreat would be complete without palms? One of our favorites, the mediterranean Fan Palm has arching, dark green leaves and a cluster of multiple trunks. Windmill Palm has similar leaf stalks with a single slender trunk to a moderate height.
Succulents
Bold leaved agaves and exotic echeverias as well as many other succulents lend texture and unusual colors to your garden.
Bougainvilleas We have gorgeous bougainvilleas to train up a south or west facing wall that will give you sheets of color all summer long. Choose from a wide variety of tropical colors. Don’t forget to ask for planting directions as they have sensitive root systems and need frost protection.
Tropical Hibiscus
Bring shades of Hawaii to your plantings with glossy leaved tropical hibiscus and lots of vibrant colors. We have these both in bush and patio tree forms, to give instant height to your garden. Plant these in a protected spot in the garden as they require shelter from the frost and wind. Hibiscus love sun and heat. They bloom late spring through the fall. Also ask about hardy hibiscus, which loose their leaves in winter but, do not require frost protection of any kind.
Rose of Sharon A deciduous, frost hardy member of the Hibiscus family is the Rose of Sharon. It produces single or double flowers in the summer and makes an excellent single stemmed tree as well as a large shrub.
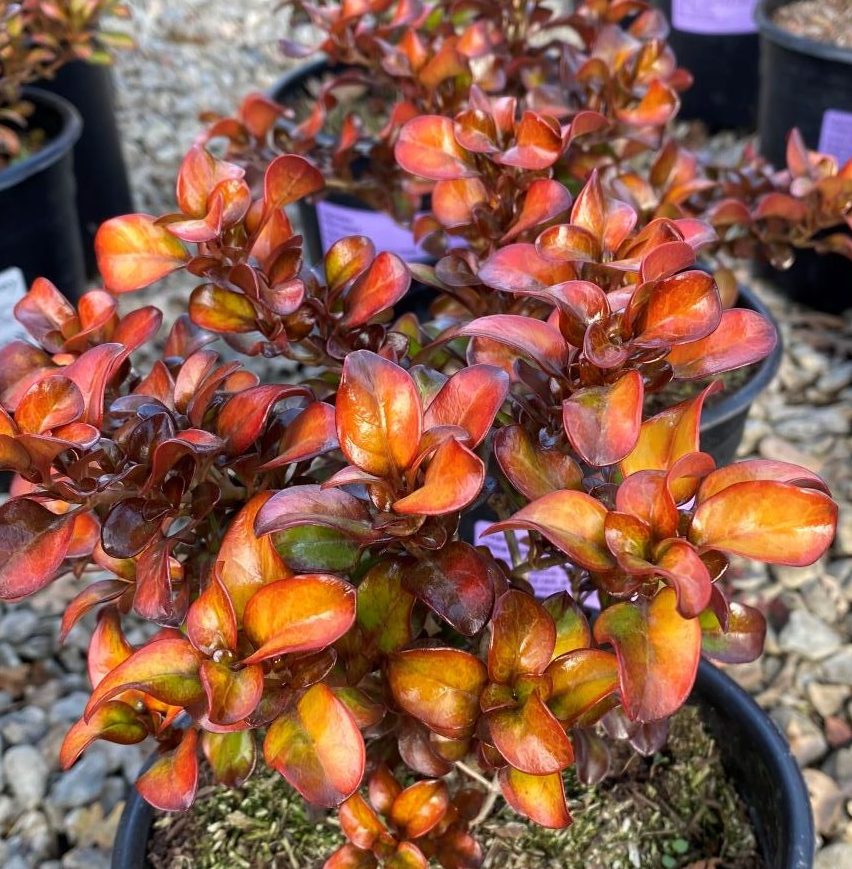
Cordylines
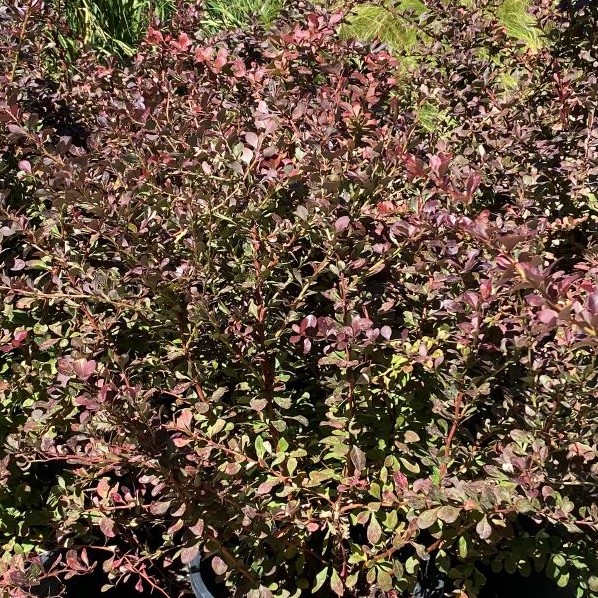
Add tropical texture with the addition of Cordylines and Phormiums. Both have sword-like leaves but attain different heights. Cordyline ‘Baueri’ has rich burgundy red leaves that are crowned with fragrant white flowers in early summer. ‘Red Sensation’ has long bronze colored narrow leaves. It is an exceptional plant to use for height and texture in container plantings. Cordylines are also available in with green foliage.
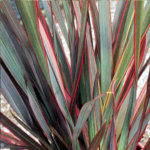
Phormiums Phormiums or New Zealand Flax are big dramatic plants with sword-like leaves. They produce red or yellow flower clusters on stems that reach high above the leaves. Available in foliage colors ranging from purple-red, bronze, purple and variegated with green leaves with a creamy white stripe. Give them plenty of room in your planting bed – leaves can reach 9 feet in height and the clump can spread to 5 feet. Smaller varieties are available
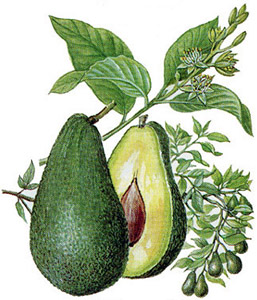
Avocados are subtropical, cold-sensitive plants that grow well in mild-winter areas of California. They need a little extra TLC in our Valley. Trees can grow 30 feet in as many years, but may be kept smaller with pruning. Trees are hardy to temperatures ranging from 32°F to 18°F, depending on the variety. It’s important to choose a cultivar that’s hardy in your area; varieties hailing from Mexico (e.g. ‘Mexicola,’ ‘Stewart,’ and ‘Fuerte’) are generally the best choice for USDA Zone 9. Guatemalan varieties (e.g. ‘Hass,’ ‘Pinkerton’) are less cold hardy and will require additional protection from freezing temperatures. Some avocados are Mexican-Guatemalan hybrids, including the dwarf variety ‘Little Cado’ that grows to a more manageable 10-12 feet and is suitable for growing in large containers.
The ideal planting location for avocados is in full sun, in a sheltered spot that offers protection from wind. Plants bloom in late winter to late spring, meaning the flowers are at risk being damaged by freezing temperatures. Cover young trees with frost cloth draped over the canopy, allowing the fabric to touch the ground (avoid bunching it around the trunk). A healthy, vigorous tree that’s been well-cared for will fare far better on frosty nights than one that hasn’t received appropriate care.
Planting time is a great opportunity to make sure your tree gets off to a healthy start! It all begins with soil: avocado trees are susceptible to root rot and require loose, rich, well-draining soil. If you have clay soil, we suggest planting your tree in a raised mound of amended soil at least 12 inches deep and 5 feet wide, incorporating E.B. Stone Sure Start, Bumper Crop Organic Soil Builder, and Gypsum Soil Conditioner. Take care not to disturb the root ball when planting, as the roots can be sensitive. That said, the roots can be aggressive as well, so don’t site your tree close to hardscapes or foundations. Also consider that an area with high foot traffic may not be suitable.
Avocado trees have shallow “feeder” roots and perform well when soil is consistently moist, but not consistently wet or soggy. A thick layer of mulch is crucial for maintaining even soil moisture and protecting those precious roots from temperature extremes. We recommend spreading a half-inch of compost over the root zone, followed by at least 3 inches of bark mulch, leaving the soil bare in a 6” radius around the trunk. To test to see if irrigation is necessary for an established tree, dig a hole 9 inches deep and test the soil by squeezing. If it is moist (holds together), do not irrigate; if it crumbles in the hand, it may be watered. Irrigate deeply once every so often to leach salts from the soil that can cause leaf burn. Starting the second year after planting, apply E.B. Stone Citrus & Avocado Food in April and July.
Although they are evergreen, avocado trees occasionally drop some of their leaves throughout the year (especially when flowering occurs). With fewer leaves to shade them, exposed branches on young trees will become sunburned and the damage can even kill a young tree. To protect the soft, thin bark, coat the trunk and exposed branches with a 1:1 mixture of Go Natural Trunk Paint and water. Allow fallen leaves to remain on the ground around the tree so that they may form a natural mulch layer.
Avocados spend an enormous amount of energy producing fruit. It’s tempting to try to harvest fruit the first year after planting, but we encourage you to resist the urge. For the first three years after planting, flowers should be pruned off the plant to allow the plant to put that energy towards growing into a strong, healthy, well-established tree.
One of the best parts of summer is reaching into your garden for fresh tomatoes. In addition to enjoying them right off the vine, here is some recipe inspiration!
Roasted Summer Tomatoes
Ingredients 12 Plum Tomatoes, halved lengthwise, cores and seeds removed 4 Tbsp. Olive Oil (we recommend Olivina from here in Livermore) 1 1/2 Tbsp. Balsamic Vinegar 2-3 Garlic Cloves, minced 1 1/2 tsp. Salt 1/2 tsp. Freshly ground black pepper
Directions Preheat the oven to 450 degrees F. Arrange the tomatoes on a sheet pan, cut sides up, in a single layer. Drizzle with olive oil and balsamic vinegar. Sprinkle the garlic, salt, and pepper over the tomatoes. Roast for 25-30 minutes, until the tomatoes are concentrated and beginning to caramelize. Serve warm or at room temperature.
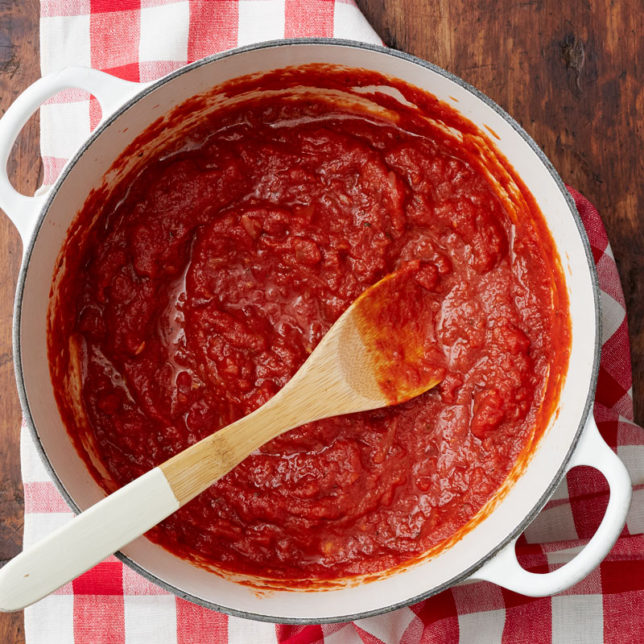
Basic Tomato Sauce
Ingredients 4 lbs. Tomatoes, peeled and crushed (see directions bleow) 1/4 Cup Olive Oil (we recommend Olivina from here in Livermore) 1 Yellow Onion, diced 4 Garlic Cloves, peeled and thinly sliced 3 Tbsp. Fresh Thyme Leaves 1/2 Medium Carrot, shredded Salt & Pepper to taste
Directions To prepare the tomatoes, bring a large pot of water to a boil. Take out the core and score the bottoms of the tomatoes. In batches, blanch the tomatoes just enough to loosen the skins. Remove the tomatoes from the boiling water and immediately put into ice water to stop the cooking process. Remove skins and discard. Crush the tomatoes by hand reserving all the juices.
In a 3-quart saucepan, heat the olive oil over medium heat. Add the onions and garlic, cook until soft and a light golden brown (about 8-10 minutes). Add the thyme and carrots, and cook 5 minutes more, until the carrots are very soft. Add the tomatoes and juices and bring to a boil, stirring often. Lower heat and simmer for 30 minutes or until desired thickness. Season with salt and serve. This sauce holds 1 week in the refrigerator or up to 6 months in the freezer.
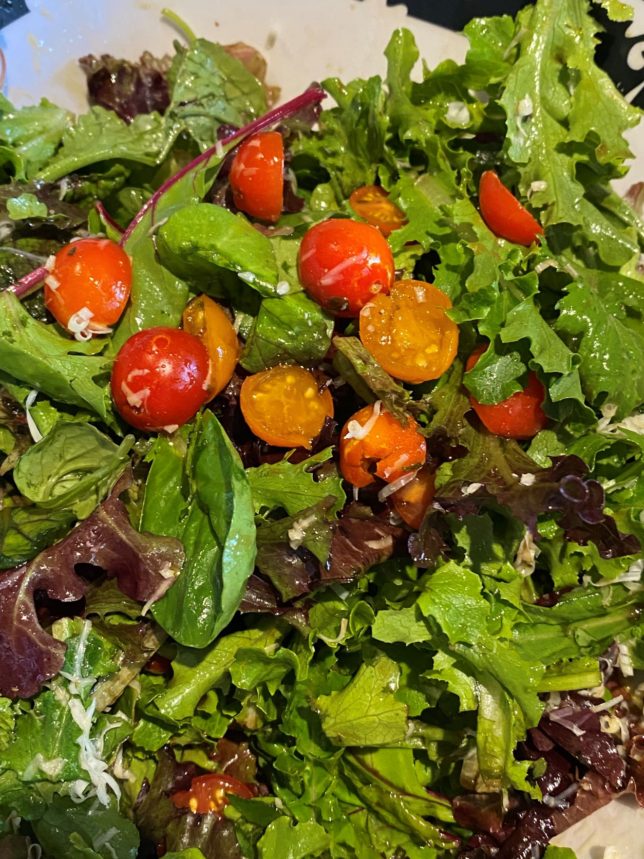
Cherry Tomato Salad with Arugula and Parmesan Cheese (serves 4-6)
Ingredients 4 pints Cherry Tomatoes, halved 4 Scallions, thinly sliced 1/4 Cup Italian Flat Leaf Parsley, chopped A handful of Basil Leaves, torn 1 Tbsp. Vinegar (Use your favorite – red wine, balsamic, sherry) 1/2 lb. Fresh Baby Arugula Salt & Pepper to taste Parmesan Cheese to shave over the top
Directions In a bowl, combine tomatoes, scallions, parsley, basil, olive oil, vinegar and a healthy pinch of salt and pepper. Mix and let stand 10 minutes. The tomatoes will start to release juices to create the vinaigrette for the salad. Toss in the arugula and top with shaved parmesan cheese.
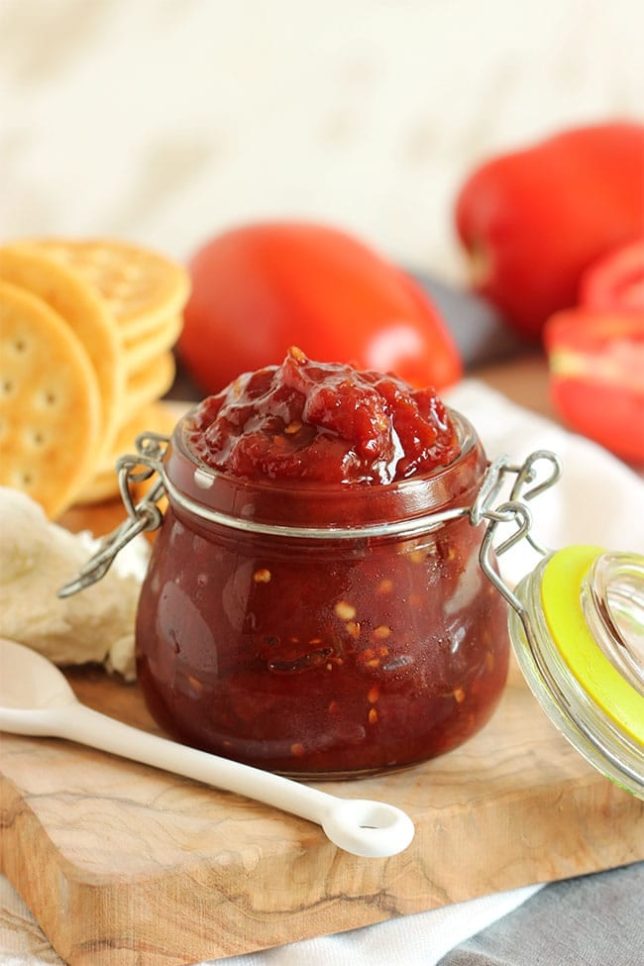
Sweet and Savory Tomato Jam (Makes 1 3/4 cups)
Ingredients 4 lbs. Plum or Roma Tomatoes, cored and cut into 1 inch pieces 1/2 Cup Sugar 2 Tbsp. Apple Cider Vinegar 1 Tbsp. Fresh Ginger, grated 1 tsp. Salt 1/2 tsp. Ground Cumin 1/4 tsp. Smoked Paprika 1/4 tsp. Red Pepper Flakes
Directions Combine all ingredients in a 3-4 quart Dutch oven or other heavy pot. Bring to a boil over medium-high heat, stirring occasionally. Reduce to medium heat and gently simmer, stirring occasionally. Until thick and jammy, about 2 hours. You will know it is done when you scrape a spoon across the bottom of the pot and no liquid fills in the path. Chill and serve. Can be used on toast or biscuits, as a accompaniment for cheeses or a sauce for steak. Refrigerate for up to 2 weeks.
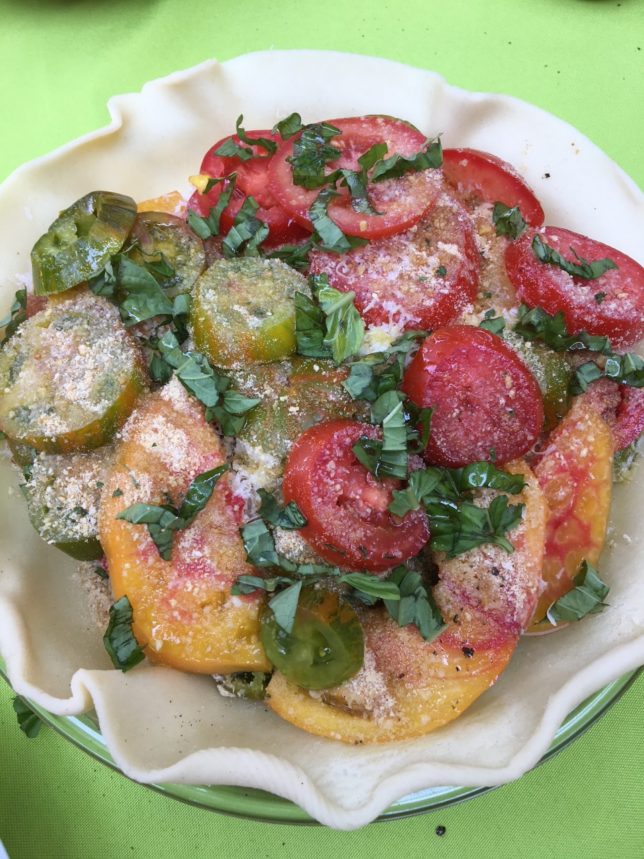
Tomato Pie
Ingredients 3 lbs. Fresh Tomatoes 1 Pie Crust 2 Cups Bread Crumbs 2 Cups Mix of Parmesan and Mozzarella Cheese, grated Garlic to taste Salt & pepper to taste Handful of Basil Leaves, chopped
Directions Preheat oven to 375 degrees. Wash & slice tomatoes. Depending on how juicy your tomatoes are, you may need to pat gently with a paper towel to remove some moisture. Place pie crust into pie pan. Fill the bottom of the pie crust with a layer of tomatoes. Sprinkle 1/2 cup breadcrumbs, 1/2 cup cheese and a little garlic over tomatoes. Add salt, pepper and basil as desired. Repeat layering of tomatoes, cheeses, breadcrumbs and spices 4-5 times. You might choose to drizzle a little olive oil over the top. Put pie in oven for 35-45 minutes. Pie is ready when your crust looks done.
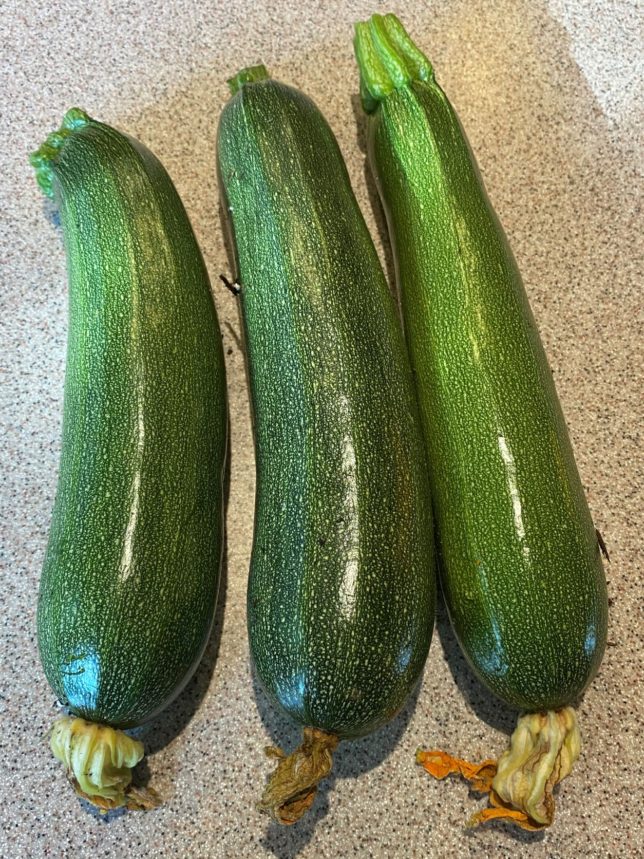
Chances are if you planted zucchini in your summer vegetable garden you are overrun with this tasty squash. If you are not now, you will be soon. It is the gift that keeps on giving.
Zucchini is incredibly versatile and can be used in so many ways. Take a look at our “10 Ways to Enjoy Zucchini” below for some inspiration. For specific recipes, wander over to our Pinterest page. We have curated a delightful assortment of delectable dishes. https://www.pinterest.com/aldenlanenursery/zucchini-recipes/
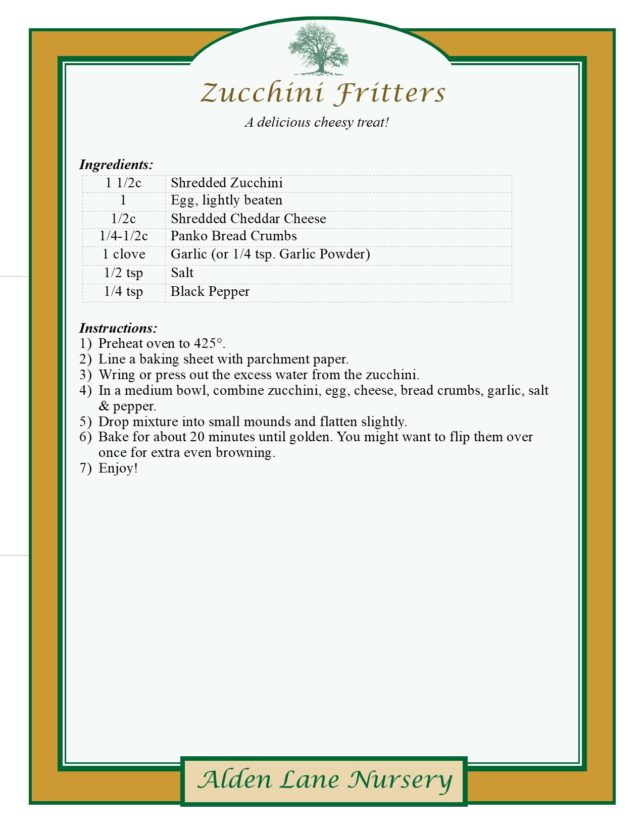
10 Ways to Enjoy Zucchini
1) Roasted, Stir Fried or Grilled—Add a touch of olive oil and maybe some parmesan.
2) Sweet Bread or Muffins—Delicious with chocolate chips & cinnamon.
By now we hope you are enjoying some of the “fruits” in the form of vegetables from your summer vegetable garden labors. We are so lucky to have a long growing season and look forward to enjoying these vegetables for another few months. Many will produce into October!
There are some things you can do to be more successful. Let’s take a look.
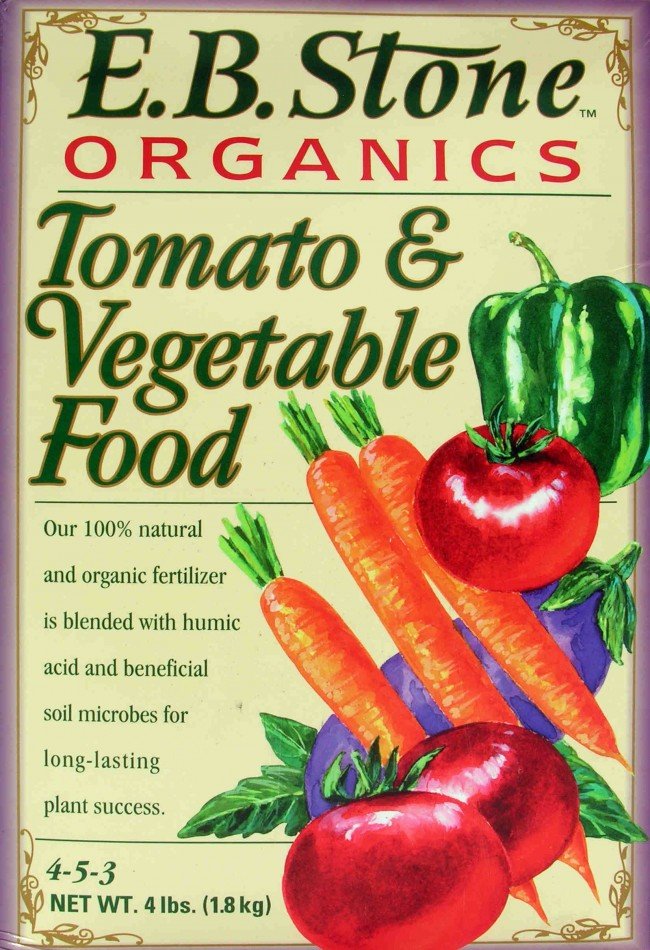
Apply fertilizer monthly. We recommend Master’s Tomato & Vegetable Food or E.B. Stone Organic Tomato & Vegetable Food. Don’t fertilize a thirsty plant — water your garden thoroughly at least 4 hours before feeding. Apply fertilizer and water again. During the summer it is important to be strategic when you fertilize. Try to do it on days where the temperatures are not expected to be above 85 or 90 degrees. You don’t want the fertilizer to burn your plants.
Mulch to conserve moisture, control weeds, and protect your plants from heat — 2 to 3 inches of mulch applied over the roots of your vegetable plants will cool the soil, reduce weeds, and help prevent soil moisture and temperature fluctuations that stress your plants. Just keep the mulch about 6″ away from the crown or base of the plants.
Train cucumbers, squash and pole beans to climb trellises or poles to save space.
Control garden pests before they control you! Snails and slugs are out in force, as well as earwigs, cutworms, whiteflies, and tomato horn worms — Come in for the best non-toxic control around vegetables.
Take a few minutes every day or so to examine your garden for potential problems before they get out of hand — prevention is always best; fast, easy and less expensive than the cure.
Special watering tips:
Water consistently. Water deeply, then give the soil time to dry partially before watering again. This is probably the most important step to a successful vegetable garden. Manage soil moisture so plants do not completely dry out, but are not over-watered.
Water by the weather. When we get a hot streak your vegetables are going to be more “thirsty” just like you are! When we are fortunate to enjoy moderate temperatures, your plants will not take up as much water.
Inconsistent watering creates unnecessary stress and reduces yields in most vegetables, and/or makes others, like cucumbers and lettuce, taste bitter. One of the best ways to water a vegetable garden is to test soil with a moisture meter just before a scheduled watering to confirm the water is actually needed, and also the day after a watering to confirm the watering was adequate – this reduces both excess water use and also the chance of error while reducing stress on you! When you use a moisture meter probe in only about an inch.
Not all vegetables should be watered alike — learn the proper watering for your particular vegetables. For example, established tomato plants should be watered deeply and less frequently. These plants have deep roots and frequent watering encourages plant growth without much fruit production. Cucumbers on the other hand need to be kept evenly moist to help prevent them from being bitter.


![bougainvilleas[1]](https://www.aldenlane.com/m/wp-content/uploads/2015/06/bougainvilleas1.jpg)
![althea[1]](https://www.aldenlane.com/m/wp-content/uploads/2015/06/althea1.jpg)
![cordyline[1]](https://www.aldenlane.com/m/wp-content/uploads/2015/06/cordyline1.jpg)
 Phormiums or New Zealand Flax are big dramatic plants with sword-like leaves. They produce red or yellow flower clusters on stems that reach high above the leaves. Available in foliage colors ranging from purple-red, bronze, purple and variegated with green leaves with a creamy white stripe. Give them plenty of room in your planting bed – leaves can reach 9 feet in height and the clump can spread to 5 feet. Smaller varieties are available